Welcome to TabSearch Pro! This guide will walk you through the simple steps to install and effectively use the extension to enhance your browsing experience. Let’s get started!
Step 1: Installation
Visit the Chrome Web Store and search for “TabSearch Pro” or follow this Chrome Web Store link
Find TabSearch Pro on the Firefox Add-ons website or use this Firefox Add-ons link
- Visit the Chrome Web Store and click “Add to Chrome”

- Confirm the installation by clicking “Add Extension”

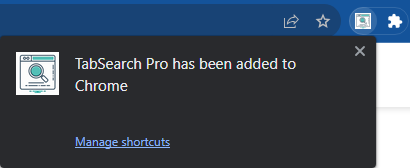
- Installation Successfully Completed
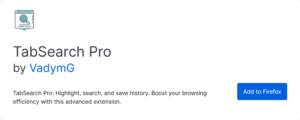
- Visit the Firefox Browser Add-ons and click “Add to Firefox”
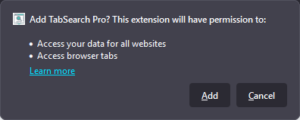
- Confirm the installation by clicking “Add”
- Installation Successfully Completed
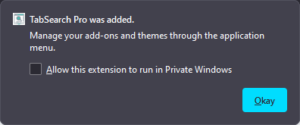
Congratulations, you’ve successfully installed TabSearch Pro! Get ready to transform your browsing experience with efficient tab searching and navigation. Explore the guide below to learn how to make the most of TabSearch Pro’s features.
Step 2: Searching within Tabs
After installing TabSearch Pro, you can use multiple methods to search within your open tabs.
Option 1: Text Selection and Context Menu
- Highlight the text you want to search for.
- Right-click to open the context menu.
- Select “Search ‘browser extension’ in Tabs” from the context menu.
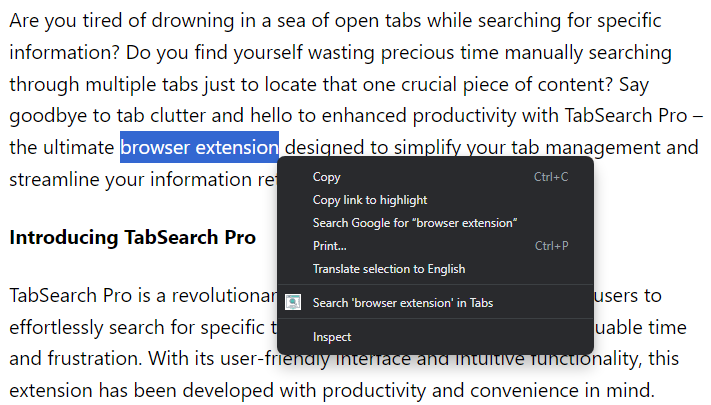
Option 2: Shortcut Keys
- Highlight the text you want to search for.
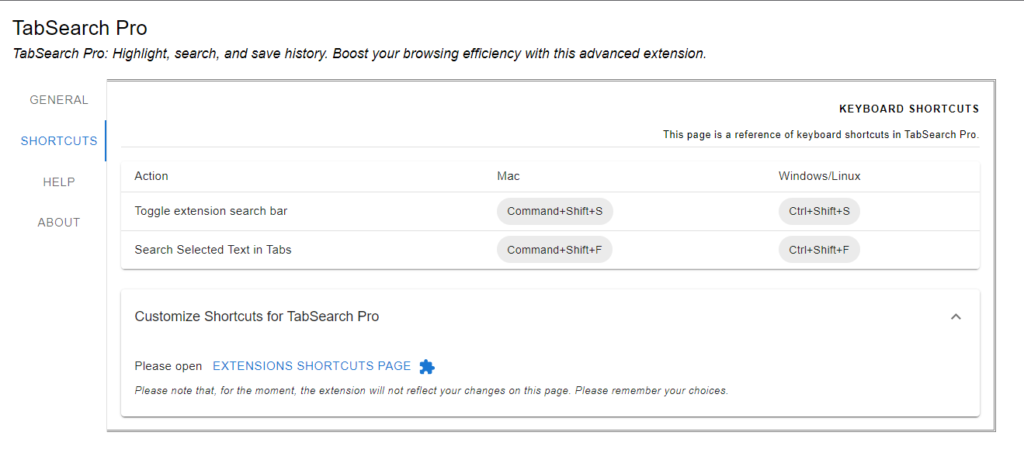
- Use the assigned shortcut keys by default it’s Ctrl + Shift + F/Command+Shift+F to initiate the search.
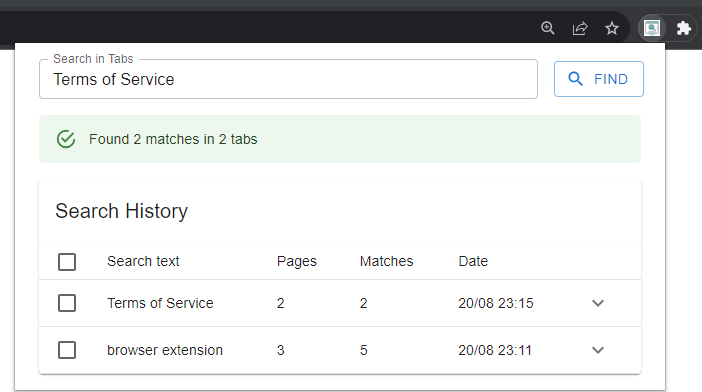
Option 3: Extension Popup
- Click the TabSearch Pro icon in your browser’s toolbar or use assigned shortcut keys by default it’s Ctrl + Shift + S/Command+Shift+S
- In the popup, type the search text and press Enter.
Step 3: Navigating and Highlighting
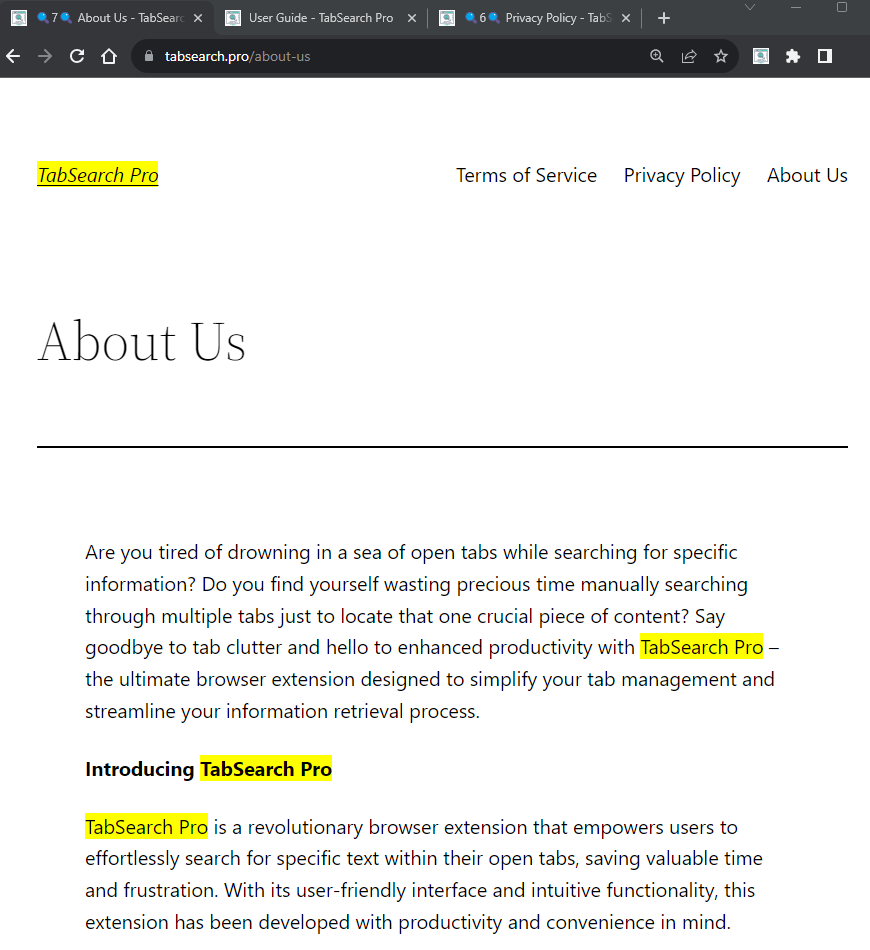
TabSearch Pro will direct you to the first tab where the searched text is found. All instances of the text in other tabs will be highlighted for easy navigation.
Step 4: Customizing Shortcuts
To customize your shortcut keys:
- Click the TabSearch Pro icon in your browser’s toolbar.
- Go to the Options page.
- Set your preferred shortcut keys.
Step 5: Managing Search History
You can view and manage your search history within TabSearch Pro.
- Click the TabSearch Pro icon in your browser’s toolbar or use assigned shortcut keys by default it’s Ctrl + Shift + S/Command+Shift+S
- In the popup you will see your recent searches.
- You can also delete/clear your search history from this section.
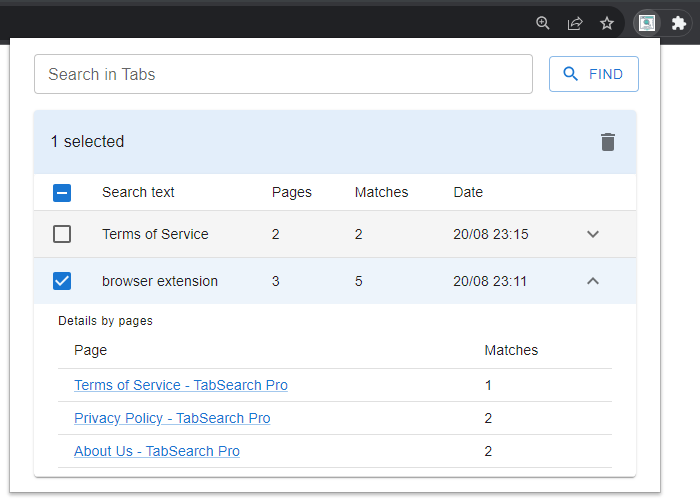
TabSearch Pro’s user-friendly design includes provisions for scenarios where your searched text is not found or isn’t selected properly. We’re here to guide you through these situations:
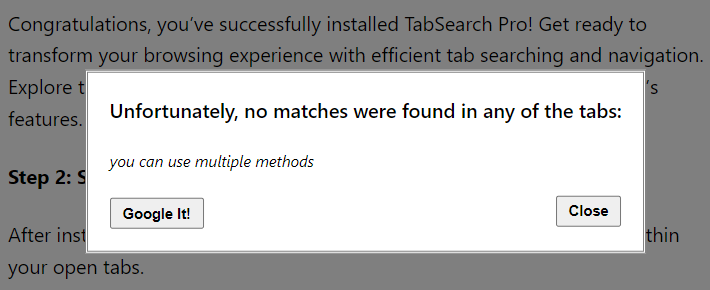
1. “Not Found” Popup:
If your searched text isn’t found in any of your open tabs, TabSearch Pro will display a “Not Found” popup. This popup will suggest that you broaden your search or consider searching the web using google search engine for your desired content.

2. “Text Not Selected” Popup:
In cases where no text is selected when you initiate a search using shortcut keys (by default: Command+Shift+F/Ctrl+Shift+F), TabSearch Pro will show a “Text Not Selected” popup. This popup will remind you to select the text you want to search for and then press the shortcut keys again to begin the search.
Remember, these popups are designed to assist you in using TabSearch Pro effectively. They provide clear instructions and guidance on how to proceed when certain search conditions are not met. This ensures a smooth and frustration-free browsing experience.

Conclusion
With TabSearch Pro, browsing efficiency is at your fingertips. Install the extension, search effortlessly, and enjoy a clutter-free browsing experience. If you have any questions or need assistance, contact us at support@tabsearch.pro.